 Skip to content
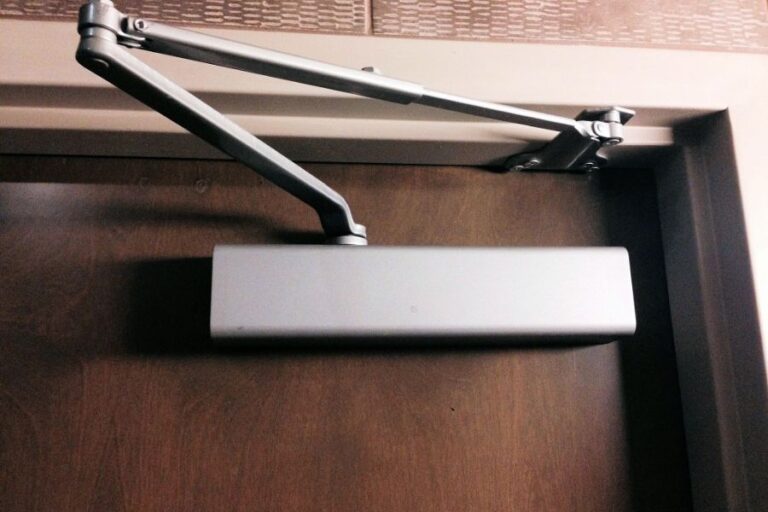
How to Replace a Door Closer?
A door closer is a vital component in maintaining the functionality and security of your doors. If you’re faced with a malfunctioning or outdated door closer, replacing it is a practical solution. Follow this comprehensive guide on how to replace a door closer, ensuring a smooth and effective transition.
Gather Necessary Tools and Materials
Before starting the replacement process, gather the essential tools and materials. You’ll typically need a new door closer kit (including the closer mechanism, bracket, and screws), a power drill, a screwdriver, a measuring tape, and a pencil.
Choose the Right Replacement
Select a replacement door closer that is compatible with your door and meets your specific requirements. Ensure that the new closer has the same mounting style and dimensions as the existing one. Refer to the manufacturer’s instructions for guidance on choosing the right replacement.
Remove the Old Door Closer
Begin by removing the old door closer. Use a screwdriver or power drill to disassemble and detach the closer from both the door and the frame. Take note of the existing bracket position and any adjustments made to the previous door closer.
Clean the Mounting Area
After removing the old door closer, clean the mounting area on both the door and the frame. Remove any debris, residual adhesive, or old screws to ensure a clean and smooth surface for installing the new door closer.
Install the Mounting Bracket
Attach the new mounting bracket to the door using the provided screws. Align the bracket with the existing holes if possible. Confirm that the bracket is securely fastened and level.
Position the Door Closer Mechanism
Position the door closer mechanism onto the mounting bracket. Ensure that the closer aligns accurately with the bracket and that there is no strain on the mechanism. Secure the closer in place using the designated screws.
Adjust Closing Speed and Latch Action
Most door closers come with adjustable features for closing speed and latch action. Consult the manufacturer’s instructions to locate the adjustment screws and customize the settings according to your preferences. Test the door closer to ensure smooth and controlled closing.
Check for Interference
Verify that there are no obstructions or interference with the door closer’s movement. Ensure that the door swings freely and that the closer operates without any hindrance.
Test the Door Closer
After installation and adjustments, thoroughly test the door closer’s operation. Open the door and observe the closing speed and latch action. Make any additional adjustments as needed to achieve the desired functionality.
Finalize Installation
Once satisfied with the replacement and adjustments, finalize the process by securing all screws tightly. Conduct a final test to guarantee that the new door closer operates seamlessly.
Conclusion
Replacing a door closer is a practical step to ensure the continued functionality and security of your doors. By following these step-by-step instructions, you can confidently replace a door closer, enhancing the controlled and reliable closure of your doors. For professional locksmith services and guidance on door closer replacements, contact us today. Our team is dedicated to providing tailored solutions for your security needs.
